Wednesday, October 26, 2016

1/35 Tiger I Late (AFV Club)

I completed the tracks, painted and mounted them to the hull. I also gave the lower hull a spray of Dunkel Gelb as part of this step.

I wanted to add some more detail to the rear hull so I added some Tiger Model armoured exhaust covers which I had in my parts inventory. I really like these resin add-ons as they have the pins sticking out the sides of the covers and have casting marks on the top of them. You won't see these marks when the exhaust shield is added but still nice. I also added an aber clasp to the rear jack arm which is not in the kit but is part of the actual vehicle.


Tuesday, October 18, 2016

1/35 AFV Club Tiger I Late


In the October 13th update below you can make out the zimmerit on the bow plate and glacis of the tank. For this zimmerit I used the Tamiya stick-on zimmerit. While it doesn't look terrible it doesn't really match the zimmerit I did myself  on the hull and rear using epoxy putty and my Lionroar Zimmerit tools. I think mine looks more accurate. So, I started re-doing this area by working on  the bow plate first. I let it harden for 24 hours then finished off the glacis and lower front hull.

I think it turned out quite well and I was able to get it pretty thin. My technique is to use a tooth pick, water and  ISO Propyl alcohol.

I included a pic of the rear plate to show the look of my zimmerit.


1/35 AFV Club Tiger I Late

One of the issues with this kit is the bolt locations on the turret deflector ring. They are wrong. So, I re-did this area by drilling the correct location of the holes in the ring and filling the incorrect ones. Here's a pic.

Thursday, October 13, 2016

1/35 AFV Club Tiger I Late

Track work using AFV Clubs late Tiger tracks. Very easy to use and the sag looks pretty good. I especially like the price of these tracks. They are like half the price of Fruils and other white metal offerings.


Sunday, October 2, 2016

Meng's New 1/48 P51 Mustang

Some recent CAD Shots of Meng's new P-51D Mustang. I must say they are damn nice and the detail looks excellent and accurate but we shall see with the actual styrene parts as they often tend to have softer detail than the actual CAD renderings.


Tuesday, September 20, 2016

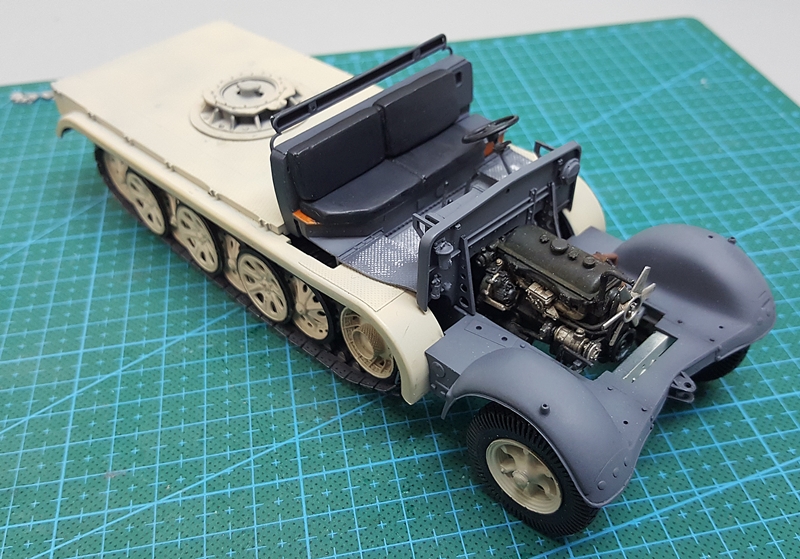
Sd.Kfz 7/1 (early) with Flakvierling

Work on the seats.

Trumpeter screwed the pooch when it came to doing the front seats of this vehicle.

Here's what they look like. Ugly as shit.


And what they are suppose to look like.


My Fixes: Copious amounts of filler, plastic card and epoxy putty.


The front seats had a sheet of wood underneath them.. I added this to the area and scratched my own battery box which I believe is suppose to be part of the actual vehicle. You can see the edge of it in the Maquette walk around of the 7/1 photo above. The kit parts are 2 exposed batteries. Don't think they would leave these open to the elements. Can you imagine a crew accidentally stepping on them in the pouring rain?


And the seats attached and the cab attached to the vehicle. I still have to add the hinges on the driver left side and middle of the seat.